
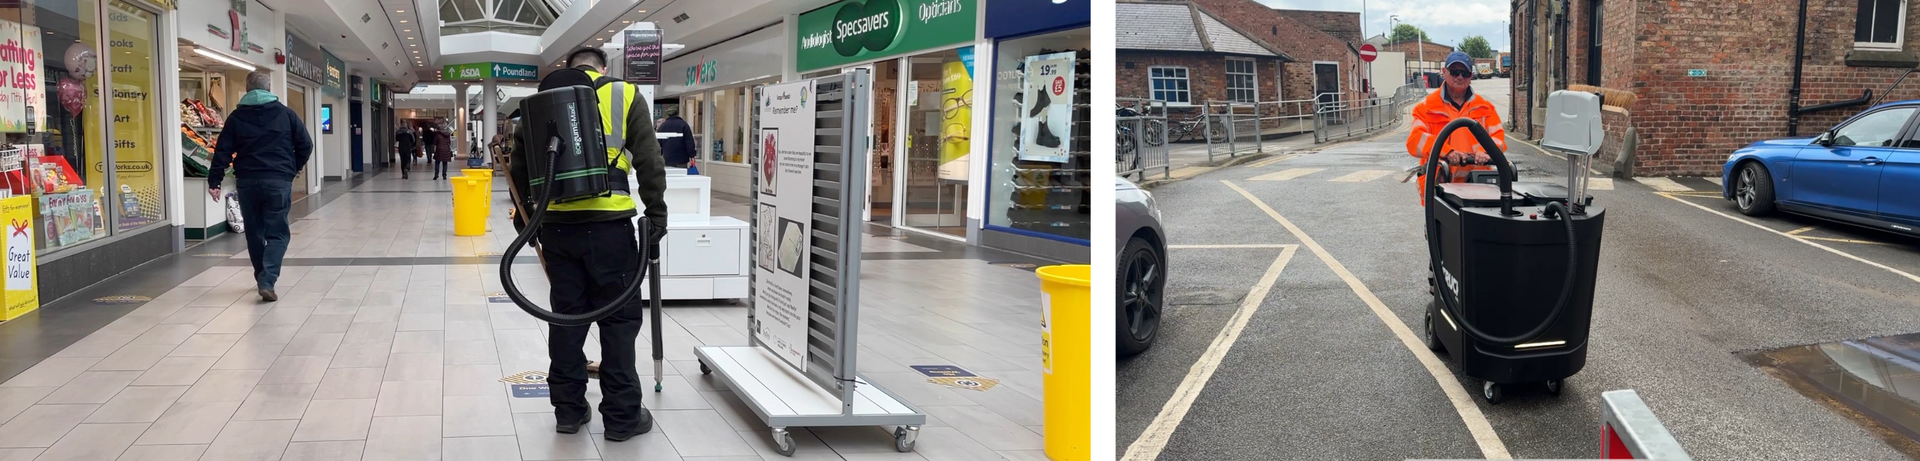
How to maintain your gum removal machine for long-term performance
Why maintenance matters
Proper maintenance of your gum removal machine is key to maximising its lifespan, reducing costly repairs, and keeping public surfaces impressively clean. For UK businesses, councils, shopping centres, and landowners, a well-maintained machine ensures every gum removal job is fast, safe, and cost-effective.
Care checklist
- After using the machine, at the end of the day, ensure the machine is properly drained of the pH-neutral detergent.
- Wipe down the exterior and dry thoroughly.
- Inspect the lance’s brush for blockages or residue.
- Recharge batteries (where applicable).
Preventing common performance issues
· Only use the recommended gum removal solutions or pH-neutral chemicals to prevent corrosion and blockages.
· The recommended pH-neutral solution is self-cleaning, meaning it cleans the machine as it is being used.
· Do not leave open bottles of chemicals in the machine between jobs—this prevents detergent from spilling inside the machine.
· Store the machine in a clean, dry, dust-free area to maintain performance.
· Regularly check for worn brushes and replace them as necessary.
· If you notice any issues, contact us for troubleshooting assistance.
Storage and transportation tips
- Store your gum removal machine upright in a dry, frost-free environment.
- During transport, secure the unit firmly to prevent knocks or spills.
- Disconnect gas cylinders, unplug batteries, and ensure tanks are drained before moving the machine.
- Never expose the unit to excessive heat or moisture, which may damage internal electronics or batteries.
Troubleshooting minor problems
- Loss of heater: Check that the battery or gas cylinders are fully connected, and check that the machine’s battery is charged.
- Uneven spray or drips: Check the fluid nozzle is set between 2 – 3, and clear nozzle obstructions.
- Frequent shutdowns: Confirm batteries are fully charged and inspect for overheating or safety resets.
- Detergent flow problems: Ensure the detergent bottle is seated properly with the fluid hose is correctly situated within the detergent.
When to service or Replace Parts
- Schedule professional servicing annually or after 500 hours of use (whichever comes first) to clean internal components, calibrate sensors, and replace consumables.
- Replace worn brushes, seals, and filters as soon as wear is noticeable—delaying can lead to machine failure and increased repair costs.
- If you notice recurring loss of pressure, overheating, or persistent leaks, book a certified engineer assessment.
If you would like a service, we perform all servicing in-house from Birmingham, UK, ensuring a quick turnaround time. 95% of parts are sourced in the UK, so you can rely on their quality.